
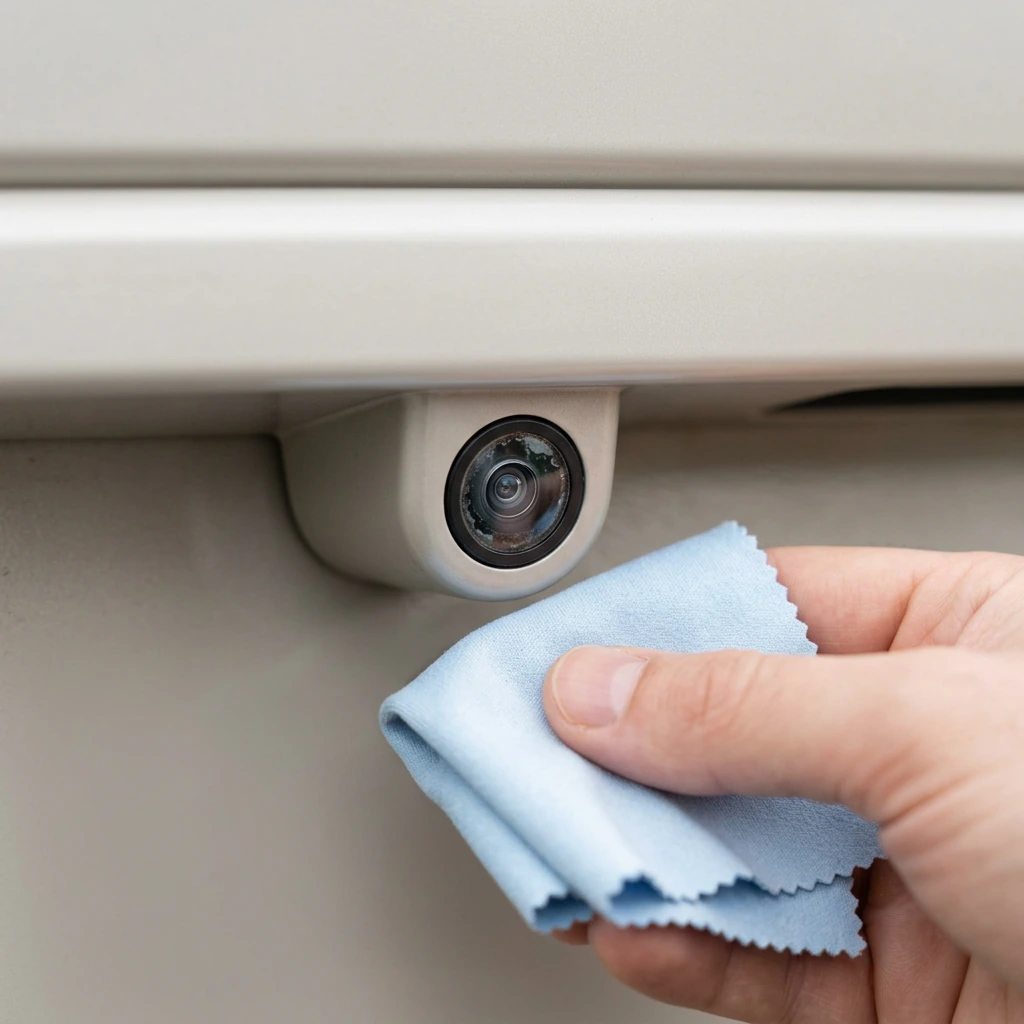
Road film can turn a sharp Mustang rear-camera view into a soft, low-contrast picture without making the screen look obviously broken. That matters because the camera is useful only as one view of the space behind the car. NHTSA describes a backup camera as driver assistance, not a replacement for mirrors or turning to look. The practical job is to notice contamination, compare what changes after appropriate cleaning, and recognize when the remaining problem needs attention.
This check fits a Mustang that has just come off wet highways, dusty construction roads, a winter-salt commute or a muddy parking area. It does not require disassembling the camera or guessing at software faults. It starts with a stationary car, a known parking space and a few observations that can be repeated later.
Why can the screen look convincing and still be incomplete?
A camera image can be bright enough to trust while losing the edges that matter. A thin film of water and grit may soften a curb, merge a dark object into pavement or add flare around a lamp. The center of the display may still look normal, so the useful comparison is not “picture or no picture.” It is whether the same fixed objects appear with the same shape and contrast as they did before the dirty drive.
The 2024 Mustang camera guidance names several different limits: mud, water or debris can obstruct the view; darkness and failed reverse lamps can reduce what the camera shows; rear-end damage can move the camera out of alignment. Those are different faults. Cleaning can address the first one, but it cannot prove that lighting and alignment are correct.
What should the lens check actually change?
Park and secure the car, switch it off and locate the lens before touching it. Follow the supplied manual for the vehicle; do not inspect or clean behind a car that is actively reversing. Look for a visible droplet edge, a gray film or dried spots rather than rubbing first and inspecting later. The close-up illustration represents this inspection and preparation with a soft cloth, not a confirmed Mustang mounting position or a completed repair.
The cited 2024 Mustang manual gives an example of cleaning an obstructed lens with a soft, lint-free cloth and a non-abrasive cleaner. Use the instructions and approved materials in the manual supplied with your own car; the online page warns that equipment and instructions can differ. Do not treat another Ford model’s cleaning advice as an interchangeable procedure. Remove contamination gently as directed, without disassembling the camera or polishing the optical surface as if it were paint.
How do you compare the display with the space behind the car?
Use a clear, quiet parking area and choose fixed references that cannot move: a painted line, a curb corner and a wall joint are more useful than a passing vehicle. Walk the area while the car is secured and inactive. For the display comparison, the driver must remain at the controls and keep the vehicle stationary; nobody should be behind it or in its path. Compare under equivalent lighting, steering position and display zoom/settings, following the vehicle manual. No moving test is needed.
Read the result in three parts:
- Clarity: note whether haze or flare decreases and edges become easier to see.
- Visible references: note which fixed objects appear, without treating them as proof of complete coverage.
- Changed view: note any persistent crop or shift under the same steering, zoom and lighting conditions.
The colored guidelines help organize the display, but they do not turn it into a measurement tool. The cited Ford page explains that steering changes active guidelines and zoom changes the visible area. Keep those settings comparable before interpreting a changed view. Landmarks cannot prove full camera coverage, correct alignment, calibration or a fault-free system, even when the image looks familiar.
When does the fault look bigger than surface grime?
If cleaning improves contrast but the scene still seems off-center, distorted or unusually cropped with comparable lighting and display settings, stop treating dirt as the whole explanation. Poor night visibility may also involve reverse lighting; arrange a safe check in accordance with the manual rather than placing anyone behind an active vehicle. A rear impact, loose trim near the camera or a persistent unusual display needs assessment beyond repeated wiping.
If the problem persists, give the technician one short account: visible contamination, lighting, steering and zoom/settings, and what changed after cleaning. An improvement is consistent with removed contamination; it is not proof that alignment or the rest of the system is correct. Describe the remaining symptom without turning a driveway observation into a diagnosis.